My intent, in this article, is for the amatuer outdoor photographer to explore ways in which to capture that water as he or she wants the watery scene to appear to the viewer. That said I will help you to explore several such approaches in this article.
 To start with, let us take a look at perhaps the simpler method of the two .. that is .. photographing the water as if frozen in time. To do this we need to think .. FASTER shutter speed. A typical dslr (digital single lens reflex) camera today, such as a canon T4i or Nikon d5100 to name a few, has inside the camera box, "two" shutter curtains. During picture taking the first curtain opens, the scene is captured on the digital sensor, immediately followed by the closing of the second curtain. At this time, both curtains reset and prepare for the next photograph to be taken. A typical amount of time these 2 curtains are open, exposing the sensor, is about 1/60th of a second. The faster those curtains open & close, the better is the chance of moving water appearing to be standing still or frozen in time. As an example, the first photo here shows a recently photographed waterfall (in NC) with the shutter curtains operating at a somewhat faster rate, in this case 1/80th of a second. Again, the faster I achieve or set the shutter speed, the more still the water appears. You can let the camera chose the shutter for you (set your Canon in "Av" mode or Nikon in "A" mode) .. OR .. you can select the speed yourself (set your Canon in "Tv" mode or Nikon in "S" mode). If you set it yourself, the camera will then choose an aperture for you. I will not get into depth of field or ISO settings in this article as time & space does not permit it. I will assume you are familiar with both aperture & ISO functions. Photographs such as these can be taken "hand held", especially if your lens features image stabilization (IS for Canon or VR for Nikon). A tripod is not necessary in spite of what you may hear. All of this assumes you are familiar with proper focus & exposure techniques.
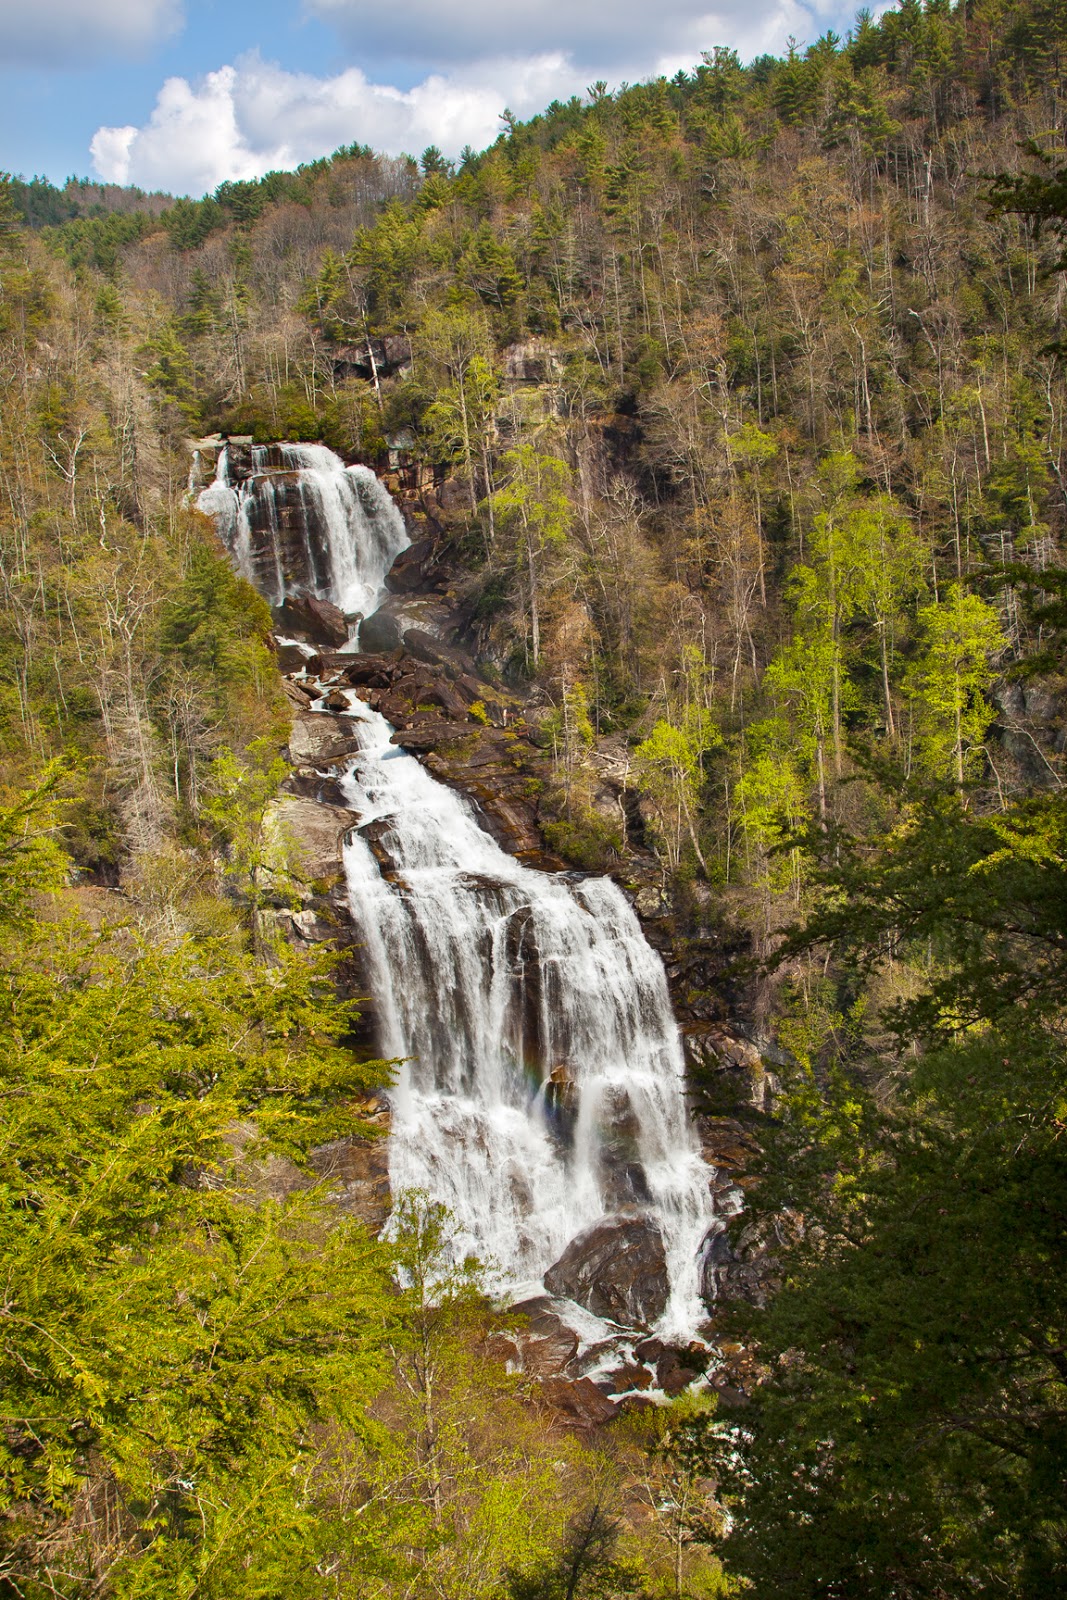
 The second method I mentioned above is a bit more tricky .. making the water silky & dreamy. For this technique you will most definitely need a tripod / a remote camera trigger / a ND (neutral density) filter. Other options include a split neutral density filter and/or polarizer but I will not pursue that here.
The main goal here is to get that shutter speed way down slow. Typically I like to have it work at about 1/2 second or so in duration. That means the time between the 2 curtains is indeed a full 1/2 second of time in which the curtains are fully open. It is in this extended time frame that the moving water will appear as a blur on the camera sensor. This next (second) photograph shows the same scene but with a shutter time of 0.6 seconds exposure .. slower than 1/2 a second. You can clearly see the difference in the first 2 photographs here.
Once again I am going to assume you are familiar with proper focus & exposure techniques for a scene such as this. Moving on, the camera should be setup on a tripod. If the lighting is bright, you will need to add a ND (neutral density) filter onto the face of your lens. It's purpose is to block some of the incoming light which will in turn allow for a slower shutter speed. It will NOT change your color so don't worry.
 TURN YOUR IMAGE STABILIZATION OFF on the lens. Most lenses, when tripod mounted, get fooled with regards to stabilization & can actually cause the photo to become blurry. If you focus with your shutter button, be sure to turn the AF off (after focusing) so it doesn't refocus when shooting. This is one reason why I truly recommend back button focusing. Go into your camera's menu & be sure to activate "mirror lock up" (some cameras have an external button for this). In this way, when taking the shot, the mirror swinging up won't jiggle the camera while photographing. In most cameras this means first pushing the remote trigger button to get the mirror up (you can use one wired or wireless - plugs into side terminal of camera) to get the mirror up .. THEN .. pushing the trigger button again to take the actual photograph. You do NOT want the camera vibrating during the shot or it will cause blurring of the photo. Just remember to deactivate mirror lock up when done with this project !!!
By the way, you can see in this 3rd photo that I am using a wired remote camera trigger. I do NOT touch the camera during shooting as it may jiggle the camera! Your resulting photo will resemble the 2nd photo above in this article.
If you are a novice/amateur photographer looking to improve your outdoor photography (or indoor too if you are interested), please go to my website, www.stochlimaging.com to learn more about private or group tutoring and/or workshops.
You might also like to visit our Facebook page:
https://www.facebook.com/pages/Stochl-Imaging/114112888779749
I hope this little article has helped in some way and inspired the budding photographer to go out and explore these ideas. Time & space kept me from providing more detail but at least it will give you an idea to start with and perhaps encourage you to do more research (or contact me for tutoring).
In the meantime, I wish you the best in your future photographic endeavors ... HAPPY SHOOTING !!!
No comments:
Post a Comment